Wednesday, 28 November 2012

I'll have a blue christmas without you

I have a craft related injury thanks to a bit of a slip when machine quilting at the weekend (yes, that does hurt as much as you imagine) so one trip to a&e later and my finger is in a ridiculously over sized bandage which hinders my ability to do anything let alone craft.   So this week I am without hand meaing we went for a tried and tested craft that I know the small one can do almost entirely alone.  She just needs me to boil the kettle and the rest is down to her.

Rockin' robin


to save you searching back through the blog you will need
bag of bird seed
cookie cutters
one sachet of gelatine
straws
greaseproof paper

plus, to Christmas it up a bit

glitter
Christmas ribbon


This amount has made 6 large bird seed feeders and 4 small ones (so would probably make 7 large ones if you want them for gifts).   I wouldn't recommend making more than one sachet at a time because you want to make sure all of the seed is covered in gelatine.


Lay out a sheet of greaseproof paper on a flat surface.

Make up the gelatine according to the instructions on the packet and add the seed in.  Throw in a bit of glitter.

Chop up your straws to make holes for the ribbon.

Place your cookie cutter on the paper and sprinkle a little glitter inside.  The right way to do this is to put silver all over, pink at the top and blue at the bottom.  Anything else is wrong. FACT.  

You may need to wear a woolly hat at this stage to prevent glitter getting in your hair.


Fill your cutter with the sticky seed and press down with the back of a spoon.  Sprinkle some more glitter on top.  

Shove the straw in place and leave to dry overnight.  


We're at that stage now, so I'll do an update when they're dry.  We've also tried a little mini seed chain so if they work, I'll put a picture up.


Friday, 23 November 2012

Santa Baby

I have been an awful good girl Santa baby so if you could see your way to that light blue convertible that I ask for in song every year it would be great.  You can still keep the sable though.  I'd rather than wasn't slipped anywhere, let alone under my tree.

Thanks

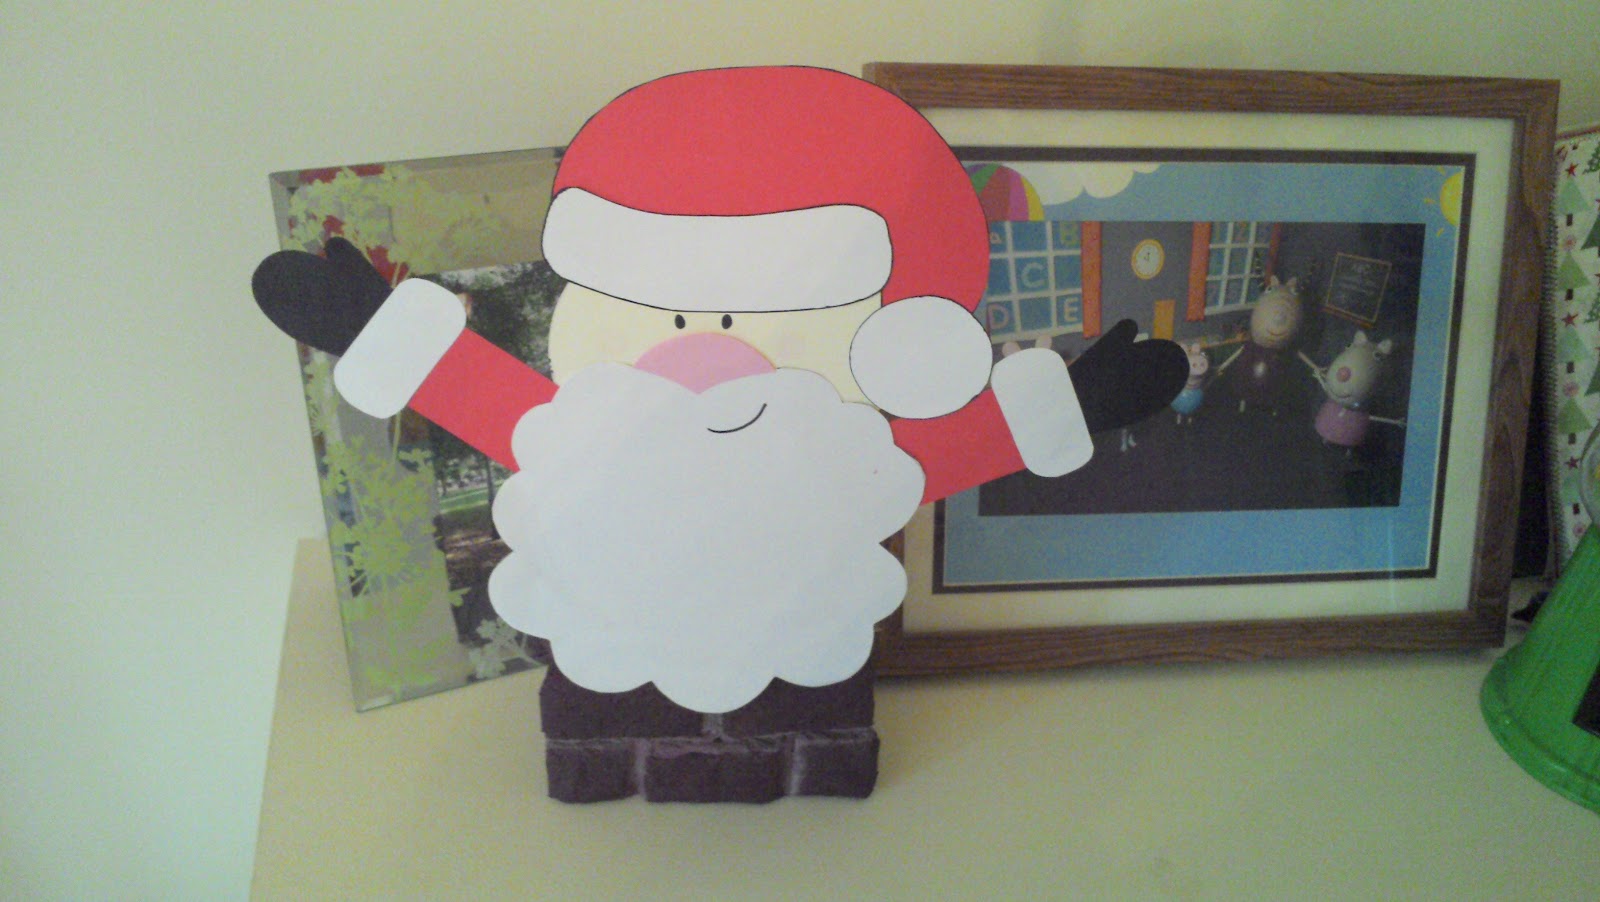
This craft was inspired by something I saw on pinterest last year which we had great fun reproducing it on the back of a cornflake box covered in wrapping paper.  This year we've taken it a bit further and added a few bits meaning we got to sing the same song over and over and over and over...

When Santa got stuck up the chimney


*sing it again*

You will need:
A teabag box 
4 or 5 pieces of kitchen roll
PVA glue
Paint
Assorted card (or white card that you are happy to paint)
Cotton wool
Sticky tape
A glue stick


First, prepare your chimney.

Open up your teabag box .  The lid is where we are going to stick our father Christmas later on so don't do anything to it.

Cut brick sized bits of card from whatever scraps you have.  We decided to just do the front of the box.  I know Milly has limited patience for repetition so making 5 bricks is fine.  Making 20 bricks would result in me doing all the work.  Once cut make sure that they can be positioned as you want on the box.

Next cut strips the width of your brick from one of the pieces of kitchen roll, roll and stick on top of each card brick using the tape.  Once completed tape the lot in to place.


Rip up the rest of the kitchen roll.  Mix together equal parts of pva glue and water and use this to stick the kitchen roll all over the box and bricks.  We're going for texture here so don't worry if they make a mess of it - glue is fun!  Leave to dry.

Now we're going to make Santa

Spend 5 minutes explaining how Santa is the same person as Father Christmas and not his brother.

Draw yourself a FATHER CHRISTMAS on paper to get an idea of the proportions if you want.  Go for simple shapes which will be easy to cut out from card and stick together rather than complex arty stuff.  You can make any sort of face, body, position etc that you want to but make sure he has a great bushy beard.  Transfer your drawing to card, cut out and hand over to the small person to stick together.  Leave to one side.

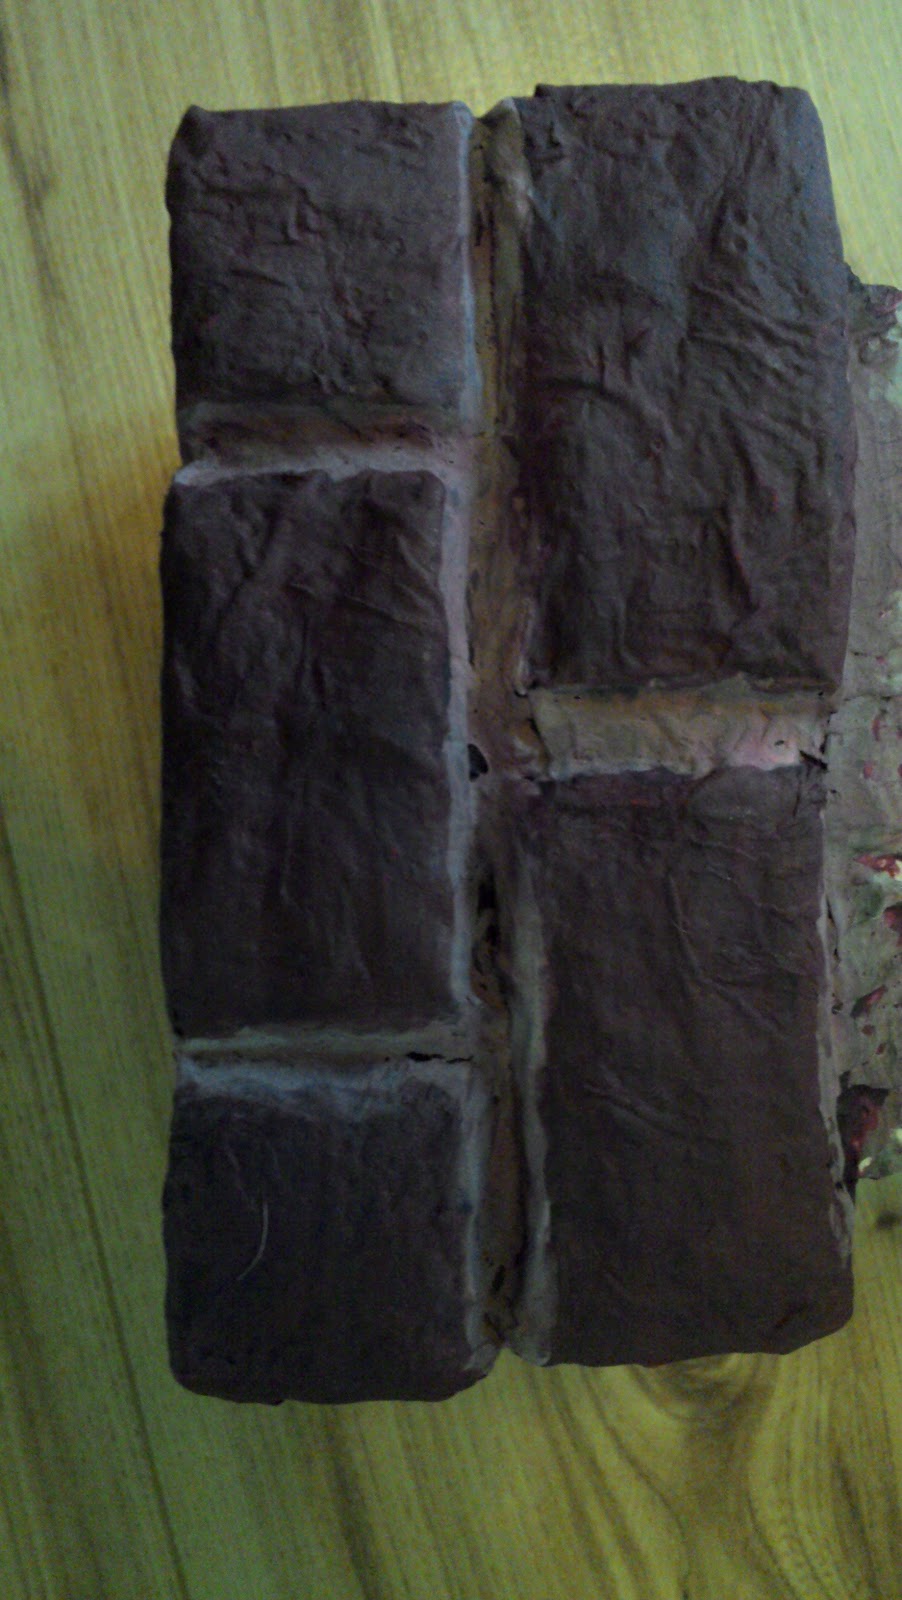
Now paint your chimney any colour you want.  We went for real feel red brown with grey cement because Milly is a fan of things looking correct, even if they are made of bits of ripped up kitchen roll.   Leave to dry.  Ours dried a lot darker than expected so if this causes a problem, tell them the big man comes at night.


To assemble, simply stick father Christmas to the chimney and fill the back with 24 balls of cotton wool.

Santa wishes he was holding hands with peppa pig.

Father Christmas Advent Calendar


Each morning during December until Christmas Eve your small person can take a ball of cotton wool and stick it on his beard using  glue stick.  When the beard is complete that means ITS CHRISTMAS!!!!


We've also been making Christmas cake and chutney ready for Christmas hampers.  Mill was less than impressed with the colour and texture of fruit cake.


Saturday, 10 November 2012

Oh Christmas Tree

Remember the salt dough decorations from a couple of weeks ago?  Well we've now threaded them and beaded them.  Instead of lots of knots, I helped out with crimping beads and a pair of pliers and this is what we have

Salt dough Christmas decorations


Not bad for a bit of flour, salt and water.

Its beginning to look a lot like Christmas

Fortunately there are approximately 48 million Christmas related phrases out there, so I have lots of potential post titles.

About a month ago we started on our Christmas craft journey of spending far more making home made versions of things you can buy for 50p in the shops.  Still, it makes the small one happy and she gets to explore a bit of magic along the way.  In this case, embossing and the watch what happens when we apply heat factor.  Sometimes you forget to be impressed by the simple things so having a 4 year old makes you stop and wow right along with them.

Tagging, Xmas Stylee


(I'm hip with the kids)

You will need :
Assorted luggage labels 
Hole / ring reinforcers
Ribbon
A stamp 
An ink or embossing pad with powder
A heat gun if you are going to use powder
Stick on gems
A coloured sharpie


If you going for an ink pad and stamp, this is one you can leave entirely to the kids.  If you're using a heat gun its absolutely not suitable for them to do solo.  If you haven't used one before these things get extremely hot extremely quickly so keep the kids away.  And no, it doesnt work with a hairdryer.  Yes, I've tried.

This is a really simple one.  Take a label and stamp away.  If you're using embossing powder then its great fun watching your child applying invisible ink and then pouring magic glitter over the top of it.  Do not expect perfection, straight lines or even a neat label.  Do expect them to have great fun and want to stamp everything in sight.

When each one is finished, use the heat gun to activate the embossing powder if they're using that whilst they get on with the next label.

Next take two of your hole reinforcers for each label and, whilst still on the backing sheet, colour them in with the sharpie.  These things are great (and we'll be using them shortly on the next Christmas craft) because they don't run or bleed or make a mess when you accidentally rub your arm on them.  However, they are also very very permanent so watch your surfaces.  Leave these to one side to dry completely.

By now your ink should be dry or the powder should be cool, so take your gems and decorate the label.  We went for a very simple Rudolf theme so we stuck on a single red nose gem.

Home made christmas labels
Rudolf denied accusations of nepotism in the sleigh pulling interviews

Remove the strings and place a coloured hole reinforcer on each side of the label.  If you're lucky the ones that are stuck on already can be removed.  Ours couldn't, so we just stuck them on top.  Simple.


These are large labels because they will have information on the back.  More of that to come in the next few weeks...

Wednesday, 31 October 2012

Making Christmas, making Christmas

lalala

Yes, its still October and yes, I've said the C word.  I admit that I'm a bit of a Christmas maniac - I'm the type of person to put a tree in every space of our house and I fully intend to infect the small one with this fever so by the time she is a women in her 30s she will still get excited at the first holidays are coming advert on the tv.

We've actually been quite busy crafting over the last few weeks on Christmas gifts from Milly, but nothing is finished.  This is one of those spanning lots of weeks project so you will have to come back if you want to see the final product.  Its the lord of the rings of craft projects, if you will, only with fewer potential endings and no elves.  Ok, maybe elves.

Not bread again


...said Milly when I announced we were making salt dough

1 cup flour plus some for rolling
1/2 cup warm water
1/2 cup salt
1 tbsp oil (optional - I find it makes the dough easier to work with)

to make that in to a Christmas decoration

absolutely anything to cut out a shape
absolutely anything to make impressions in the dough (optional)
a rolling pin
assorted paint (we used a metallic paint from tesco, a gold glitter paint from ELC and some white paint from asda)
a decision on how to hang it and either rings or string depending on what you choose


Mix everything together and that's it really!  If its too dry shove in some more water, too wet add flour.  

We decided to make some impressions in the dough using some snowflake cutters I had for last years Christmas cakes and then cut out shapes with cookie cutters, but you could use just about anything really - finger print impressions and a circle cut using an egg cup would be great.


Once cut decide how you're going to hang them.  We're trying a combination of ribbons which require cuts in the shape, string requiring a hole (I used a cocktail stick to form this), and rings which I will buy at some point in the next couple of days and glue in place.  We had rather a lot of dough left at the end of our cutting so we made little beads too so miss can have a princess necklace.  Not sure Kate would wear a salt dough necklace but you never know.

Salt dough Christmas decorations


There are lots of cooking instructions on the web for salt dough.  I normally bake mine at 100 degrees for 3 hours (or until they are firm but not coloured in any way) but I wanted to try the microwave method.  For this you apparently simply place in the microwave for 1 - 2 minutes and bing they're done. Unfortunately I bing almost set my microwave on fire and bing made my kitchen smell of bonfires.   If you know how to do this without causing a major crisis then go for it.

Once cooked and cooled, its time to paint, and that's what today's activity was for us

Witch costume also optional


Next I will varnish them and then we will put them all together and attach them to the labels we've made (instructions coming soon).  But that's an activity for another day!  One without witches I imagine.


Tuesday, 16 October 2012

Happy Anniversary

6 years ago this happened


We had the perfect wedding and I married the perfect man.  Its all rather soppy really.  A couple of years before this happened mr invited me over to his place for an evening of fine foods, intellectual conversation and a drop of port towards the end of the evening (or maybe it was a bunch of mates getting drunk and playing twister).  At some point in the night he decided that dressing up in a tux, playing the ferrero rocher music and bringing in a tray of said choccies was a brilliant idea.

Regardless of the cheese, he won my heart and the rest is wonderful history.  Its a memory that needs to be celebrated so when I found out that six years together means a gift of sugar or iron I knew which one I was buying, and it wasnt made by tefal.

Why monsieur, you are really spoiling us


You will need : 

One polystyrene ball
One length of dowel
Plaster of paris
A pot
Tin foil
Clear glue
Assorted ribbons
Organza or tissue paper
64 ferrero rocher (which is a heck of a lot more than I expected).
The will power of an elephant

To start, I will say I bought a kit containing the ball, dowel, pot, plaster and ribbons.  I priced up getting everything individually and by the time I'd paid for p&p for each one it worked out considerably cheaper to get it in kit form from one place.  If youre making multiples for table decorations then it might be worth getting them seperately.  If that is the case, I used a 30cm length of dowel and a 120mm polystrene ball so adjust the number of chocolates if you buy smaller or larger.


Ok, this bit is pretty obvious but I'll go through it anyway.  Wrap and glue the ribbon around the dowel.  Prepare the plaster of paris as per the instructions on the packet and pour in to your pot.  Shove one end of the dowel in to the ball and sit the other in the plaster of paris and leave to set.

Now for the *ahem* fun bit.  Cover the ball in foil.  This will allow you to re-use (or sell on!) your sweet tree after you've finished with it.  Starting at the top add some glue to the back of the ferrero rocher and to the foil.  Hold in place until set.  Gravity will play its part in making this a tedious process unless you go foil-less, but you should be able to do 4 or so chocolates at a time and hold them all.  DO NOT EAT THE CHOCOLATE.  Continue until you've covered the entire ball and leave to set.  You will need to do this either the moment before you intend to give it as a gift or at least a day before because gravity will start to bug you once again by dropping the chocolates out of their wrappers, so DO NOT EAT THE CHOCOLATE - just glue them back in to place and feel better knowing that you will be sharing it eventually anyway.

Finish by decorating in any way you want.

Ferrero Rocher Sweet Tree


If you want a more budget option then melt a little milk chocolate and use that to stick maltesers on to the foiled ball, use cocktail sticks on marshmallows or licorice alsorts "kebabs", or just hoof lollipops in to the polystrene.  Its all sweets, so its all good.


When rhyming goes wrong

Milly loves rhyming and will happily sing song her way through bizarre combinations of words, birds, sirds, flubberlerds.  Many make absolutely no sense but its cute to listen to, until it goes very wrong and then you have to not react to luck, suck, duck f... you see where I'm going with this.

So today we're making food that has no rhyming risk factor.  I have a feeling this may become a theme over the next few weeks, or until the next phase hits.  Please dont let it be a reoccurance of "where do babies come from?".

Nice Ice Rice Flice Buns Huns Suns Guluns


1 batch of basic bread mixture recipe here 
75g sugar
1 egg

Icing sugar
Food colouring
Assorted sprinkly goodies.

Extra flour for rolling.
Vegetable oil to prevent the bread sticking


Make up the basic bread mix with the sugar and egg added.  Alternatively take any white bread mix / recipe and add the sugar and egg, leave to prove in an oiled bowl for 30 minutes.

Remove the dough and smack around a bit.  Make tthhhhhssssss noises at the same time.

Divide in half, and then divide each half in to 5.  Hand over to your miniture person and have them split each portion in half and form a ball shape.  Dont expect equal quantities but its nice for them to learn the concept of half and double.  Roll each ball in to a sort-of-sausage.  Its much easier for them to roll the dough (which is rather sticky) if you get them to flour their hands slightly before you start.

Milly demonstrates a dough sausage

Add each sausage to an oiled tray, cover with oiled clingfilm and leave in a warm place to double in size before baking in my oven at 170 degrees for 10 minutes.  Keep an eye on them - they do cook quickly so can turn just as fast.

Remove and allow to cool completely.  Open every door and window in your house so everyone gets a chance to smell freshly baked bread.  Pat yourself on the back for making the neighbourhood jealous.

Make some thick icing for the top - we went for tiffany blue and bubblegum pink (see, I can be foody when I want to be).  Pour on to a side plate and press each bun in to the icing.  Top with funky sprinkles and shove in the fridge to allow the icing to set.  Eat the left overs.


Scoff, cough, loff, bo....maybe not.

Toddler made ice buns